![]()
![]()
The Data Import Tool has two import options:
Import Studies
De-Identify and Import
To import studies:
1. From the Data Import Tool toolbar,
click Import  .
.
The Search Archive window appears.
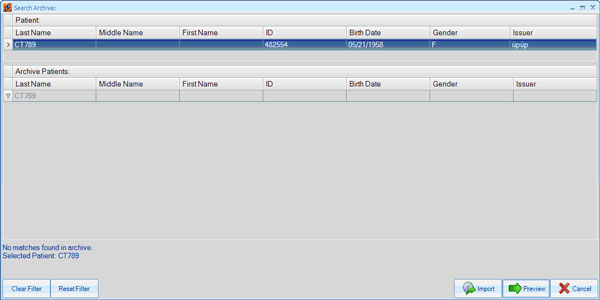
2. Search the archive for the selected patient.
Default patient matching rules are used which are defined in the settings.
You can query the archive for any patient by modifying the filter manually (empty filters are not allowed).
3. Select patient details for the selected studies:
Select original patient: Import rules will also apply (patient ID and accession number modifications).
Select a patient from the Archive: Patient details from the archive are applied to all images in the selected studies.
4. Click  to review the patient and study details before
starting the import operation.
to review the patient and study details before
starting the import operation.
5. Click  to import the data.
To de-identify and import a study:
1. From the Data Import Tool toolbar,
click De-Identify and Import  .
.
The Hide Details window appears showing default values.
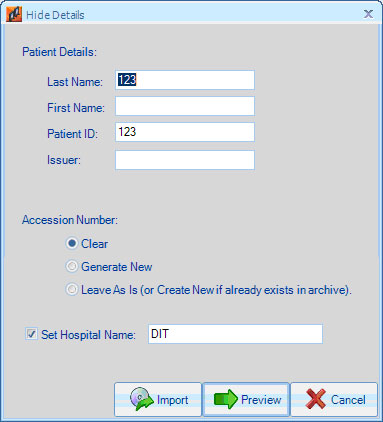
2. Specify new details.
New IUIDs will be generated for all images (study, series, and image). Other identifiers (referring physician, operator, institution, station name, etc.) are removed from the images.
3. Click to review the patient and study details before
starting the import operation.
4. Click to import the data.
A patient and study details check, which includes checking the accession number, is performed before the Import operation commences.
If the study already exists in the archive, all its details are taken from the archive.
If a new patient was selected but the same patient ID already exists in the archive, a new patient ID is generated for the new patient.
If one of the above is found, the Preview window will open before the import begins.